TOOLS

- pencil
- spirit level
- drill
- screwdriver
- soft, damp cloth
INSTRUCTIONS

1. Place your print against the wall, keep it level and make two pencil marks both at the top and the bottom where the spacers should go. Important: do not slide the print across the wall, this might cause damage!

2. Drill the holes and place the plugs.

3. Unscrew the spacers with the hex key.

4. Screw the longer parts of the stainless steel spacers onto the wall.

5. Put the shorter parts of the stainless steel spacers back on and install the print.

6. Fasten the stainless steel spacers with the hex key.

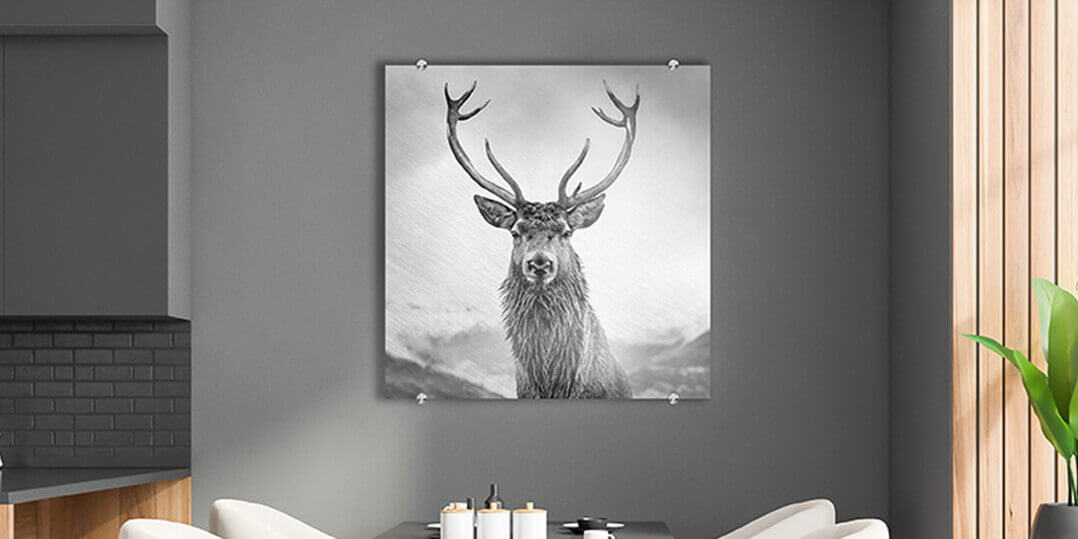
7. Carefully wipe the print with a soft, damp cloth and enjoy!
TAKE A CLOSER LOOK


FINAL EFFECT

TOOLS

- pencil
- spirit level
- drill
- screwdriver
- soft, damp cloth
INSTRUCTIONS

1. Place your print against the wall, keep it level and make two pencil marks both at the top and the bottom where the spacers should go. Important: do not slide the print across the wall, this might cause damage!

2. Drill the holes and place the plugs.

3. Unscrew the spacers with the hex key.

4. Screw the longer parts of the stainless steel spacers onto the wall.

5. Put the shorter parts of the stainless steel spacers back on and install the print.

6. Fasten the stainless steel spacers with the hex key.

7. Carefully wipe the print with a soft, damp cloth and enjoy!
TAKE A CLOSER LOOK


FINAL EFFECT

TOOLS

- pencil
- spirit level
- drill
- screwdriver
- soft, damp cloth
INSTRUCTIONS

1. Place your print against the wall, keep it level and make two pencil marks both at the top and the bottom where the spacers should go. Important: do not slide the print across the wall, this might cause damage!

2. Drill the holes and place the plugs.

3. Unscrew the spacers with the hex key.

4. Screw the longer parts of the stainless steel spacers onto the wall.

5. Put the shorter parts of the stainless steel spacers back on and install the print.

6. Fasten the stainless steel spacers with the hex key.

7. Carefully wipe the print with a soft, damp cloth and enjoy!
TAKE A CLOSER LOOK


FINAL EFFECT

TOOLS

- pencil
- spirit level
- drill
- screwdriver
- soft, damp cloth
INSTRUCTIONS

1. Place your print against the wall, keep it level and make two pencil marks both at the top and the bottom where the spacers should go. Important: do not slide the print across the wall, this might cause damage!

2. Drill the holes and place the plugs.

3. Unscrew the spacers with the hex key.

4. Screw the longer parts of the stainless steel spacers onto the wall.

5. Put the shorter parts of the stainless steel spacers back on and install the print.

6. Fasten the stainless steel spacers with the hex key.

7. Carefully wipe the print with a soft, damp cloth and enjoy!
TAKE A CLOSER LOOK


FINAL EFFECT

TOOLS

- pencil
- spirit level
- drill
- screwdriver
- soft, damp cloth
INSTRUCTIONS

1. Place your print against the wall, keep it level and make two pencil marks both at the top and the bottom where the spacers should go. Important: do not slide the print across the wall, this might cause damage!

2. Drill the holes and place the plugs.

3. Unscrew the spacers with the hex key.

4. Screw the longer parts of the stainless steel spacers onto the wall.

5. Put the shorter parts of the stainless steel spacers back on and install the print.

6. Fasten the stainless steel spacers with the hex key.

7. Carefully wipe the print with a soft, damp cloth and enjoy!
TAKE A CLOSER LOOK


FINAL EFFECT

TOOLS

- pencil
- spirit level
- drill
- screwdriver
- soft, damp cloth
INSTRUCTIONS

1. Place your print against the wall, keep it level and make two pencil marks both at the top and the bottom where the spacers should go. Important: do not slide the print across the wall, this might cause damage!

2. Drill the holes and place the plugs.

3. Unscrew the spacers with the hex key.

4. Screw the longer parts of the stainless steel spacers onto the wall.

5. Put the shorter parts of the stainless steel spacers back on and install the print.

6. Fasten the stainless steel spacers with the hex key.

7. Carefully wipe the print with a soft, damp cloth and enjoy!
TAKE A CLOSER LOOK


FINAL EFFECT

